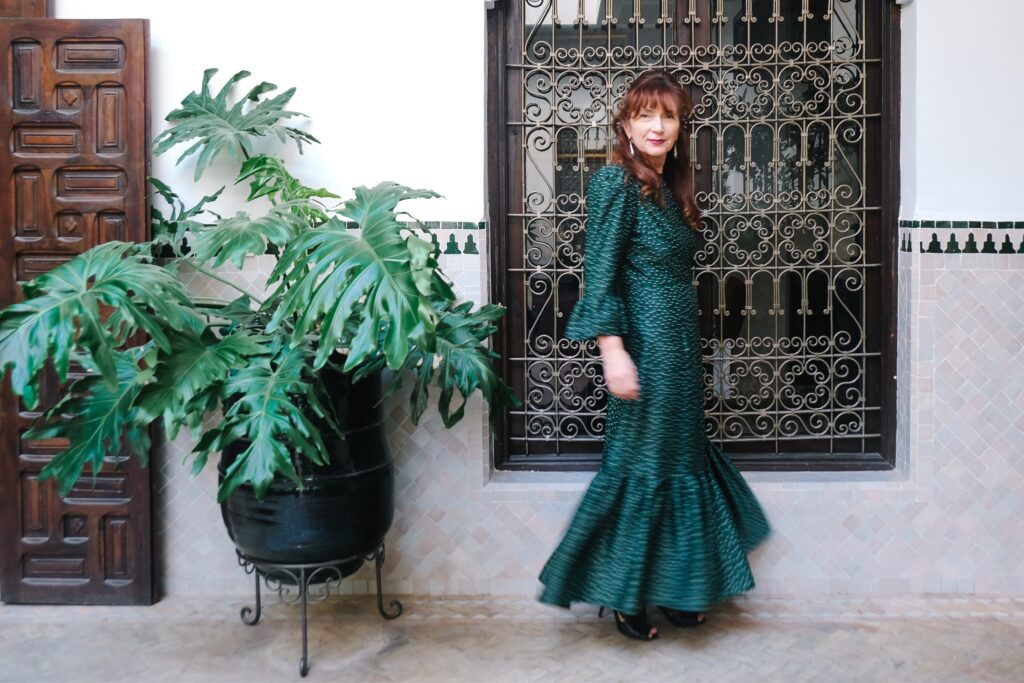
How to Make the Fabric Godmother Peony dress.
The Pattern
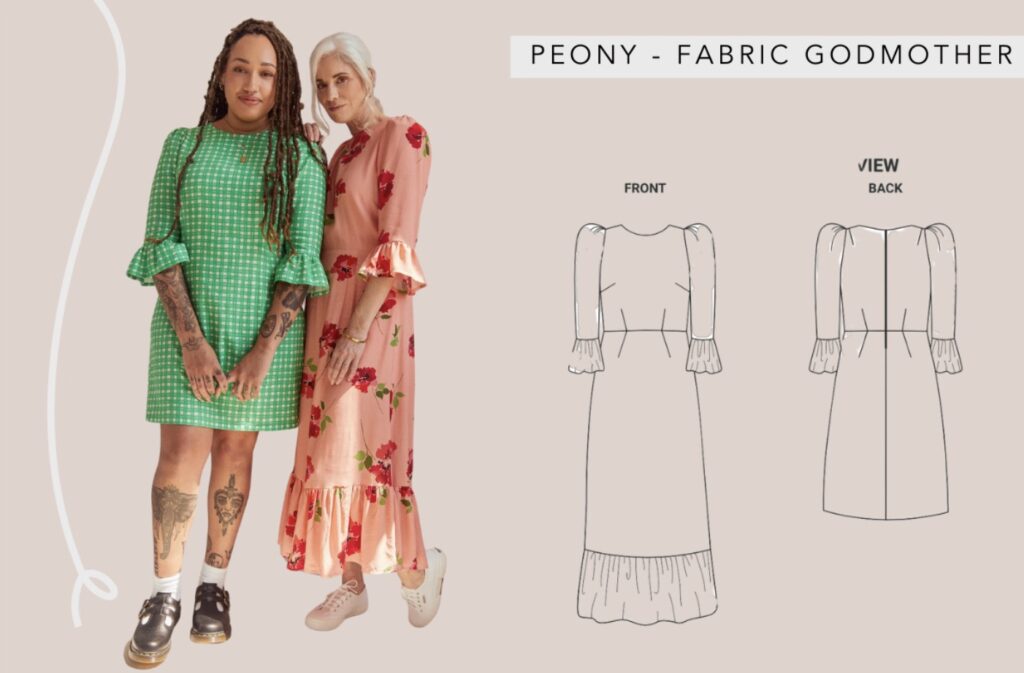
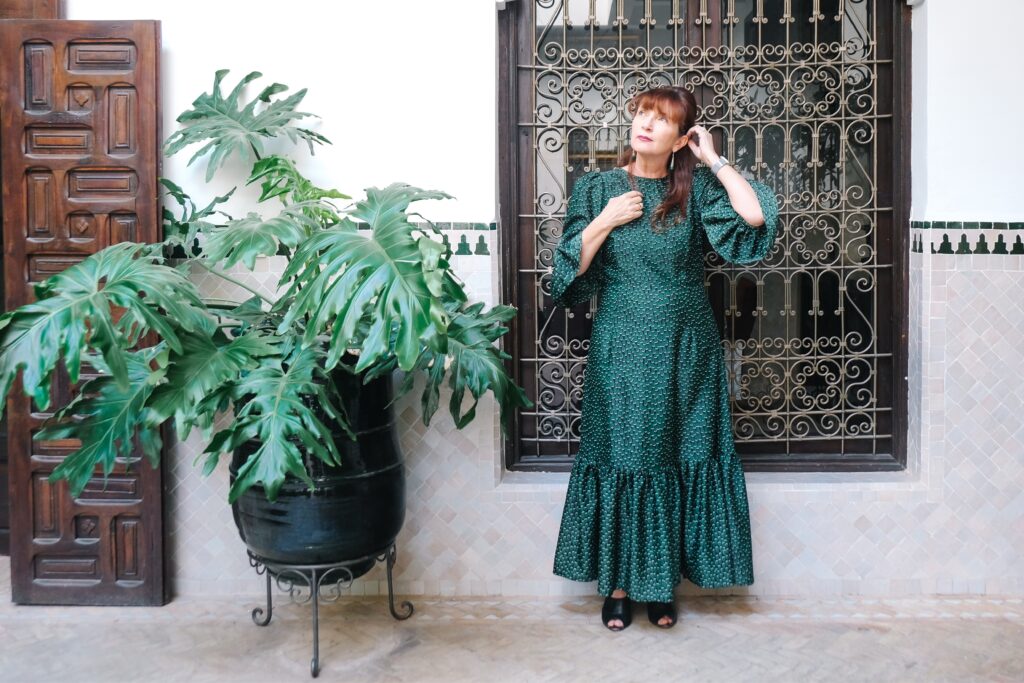
The Peony Dress is not designed to be closely fitted, but there are darts on the front and back of the bodice and skirt so you can easily adjust the fit to your liking. Both Views A and B have a sleeve frill. View A also has a skirt frill that falls just above the ankle, while View B finishes mid-thigh with no frill.
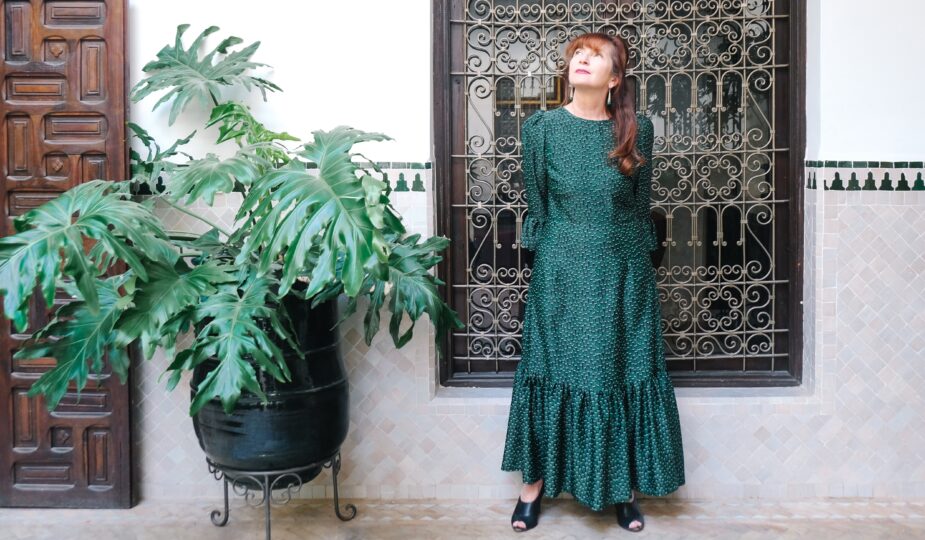
I first saw this pattern on The Foldline website, and I instantly fell in love with View A, the long romantic version. It has a lovely nostalgic feel of a tea dress, and is completely feminine. It can be worn semi-fitted or loose, depending on your preference.
There are an incredible number of sizes on offer with the pattern, and you really do have to carefully consider which one to choose. When looking at the sizing, I came out as a size 12, when I am usually a size
The Fabric
Suggested fabrics: Fabrics with a bit of drape such as viscose, crepe, silk and cotton lawn will give a floaty silhouette. For a dress that is more structured, you can opt for a fabric that has more body, like mid-to-light denim, cord, or cotton poplin.
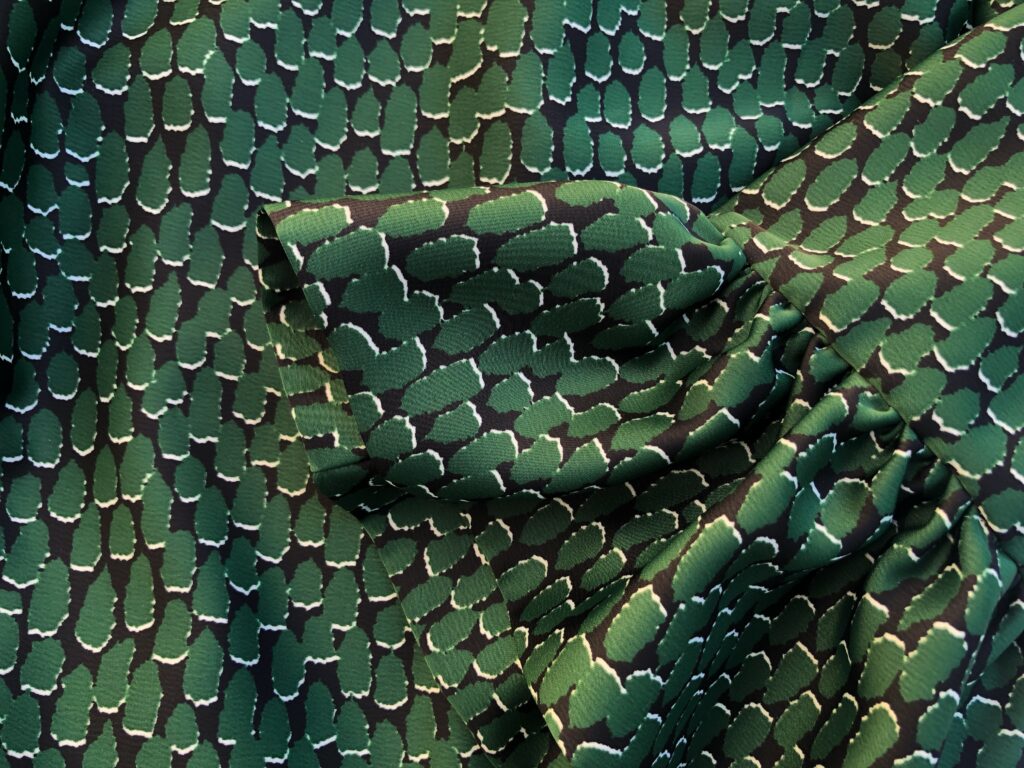
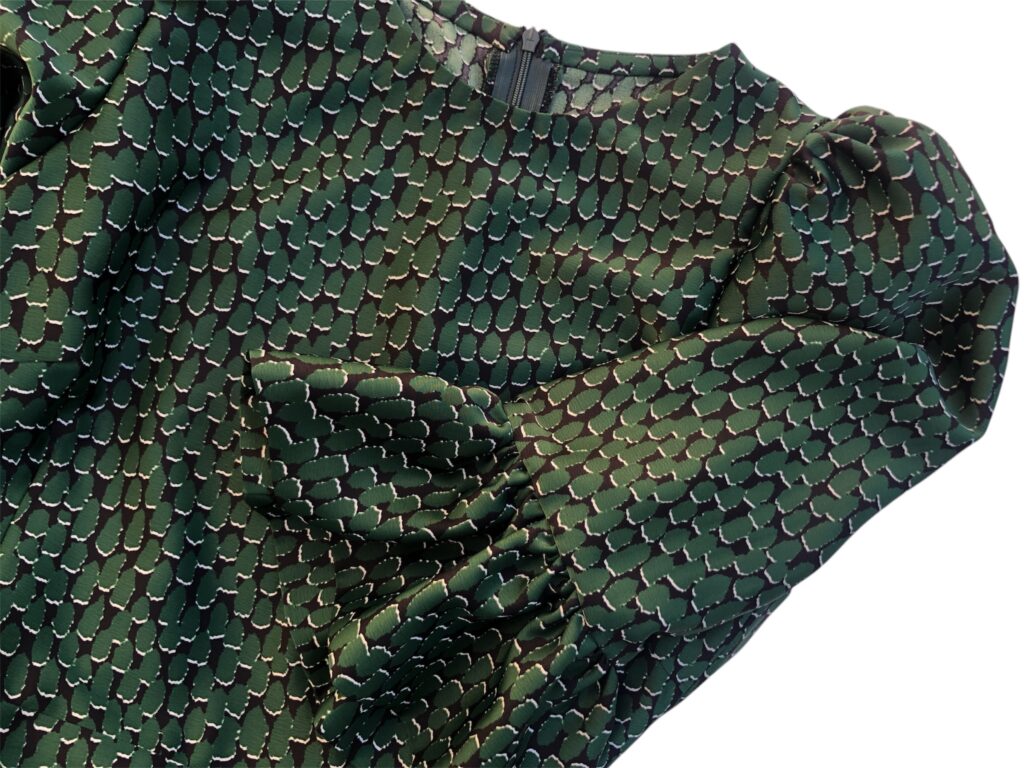
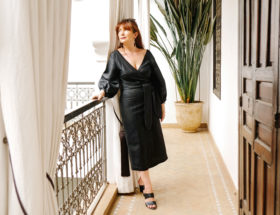
I purchased a heavy satin fabric from a local shop, as it has wonderful draping quality, which is needed for this pattern. This dress is something I wanted for the evening and the silky fabric makes it feel very luxurious to wear.
The design travelled across the width of the fabric, but I preferred to railroad the fabric and turn the design lengthwise.
This dress could be made in wool suiting for a formal work or winter dress (with the frilled skirt removed and possibly lengthened) or velvet for some evening winter glamour!
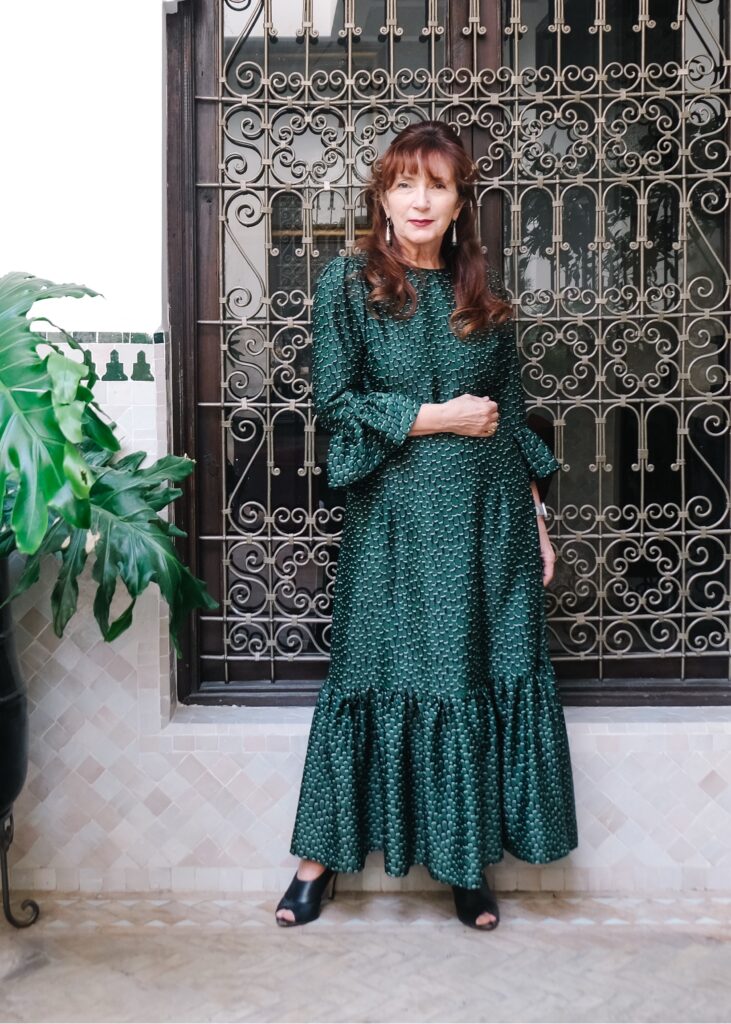
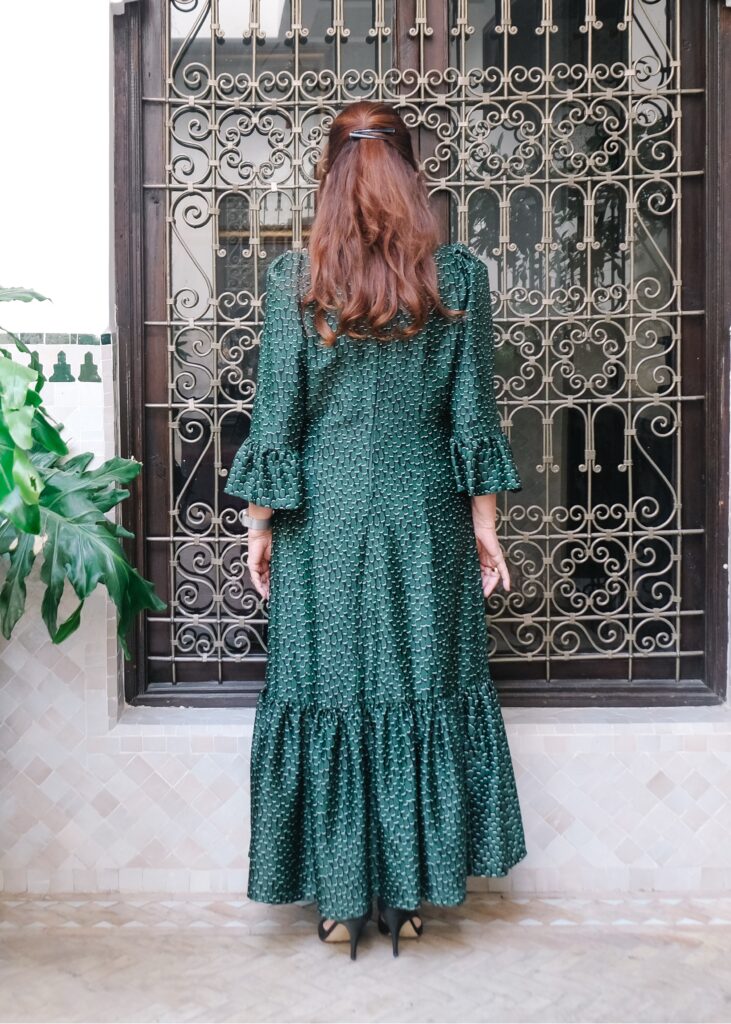
The Make
As previously mentioned, my sizing came out as a 12 rather than my normal size 14. I didn’t have the patience to make a toile, and I didn’t want to waste my fabric, so I cut out a size 14 just in case. However, I soon had to go back and recut the pattern pieces when I realised that it would be too big for me.
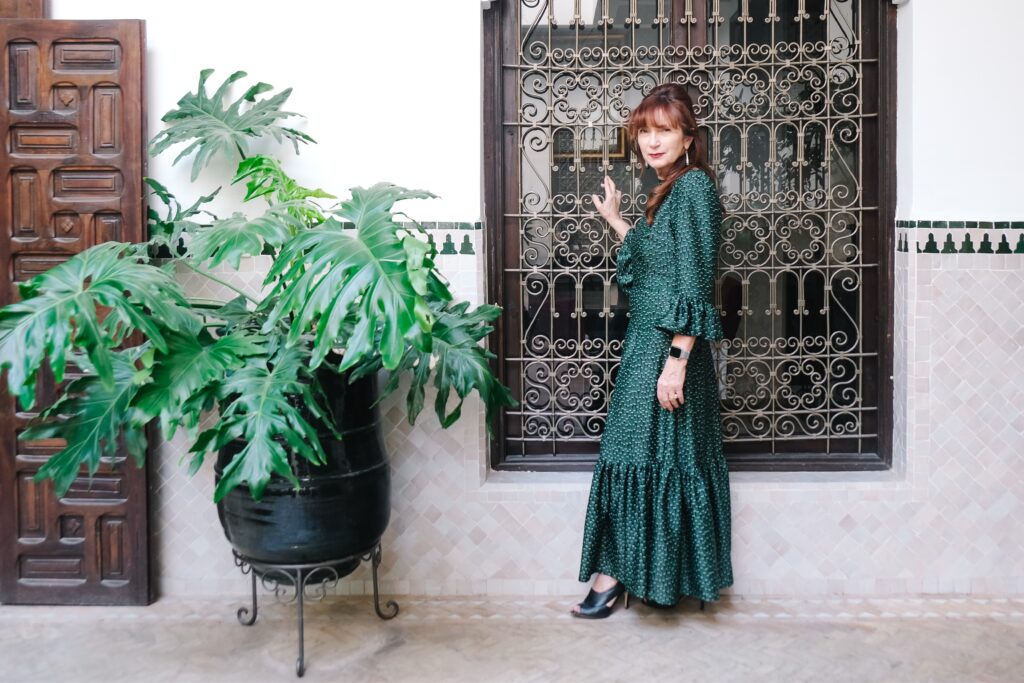
The instructions are very comprehensive and detailed, and guide you through each stage. Tips are offered to help you obtain the perfect tailored finish, and there is something to learn for everyone here I am sure.
Numerous darts are added to the bodice and skirt to achieve the desired fit. I’m not sure if it was me, but the skirt darts didn’t match the bodice. To fix this, I suggest not sewing the skirt darts until you can match them to the bodice darts.
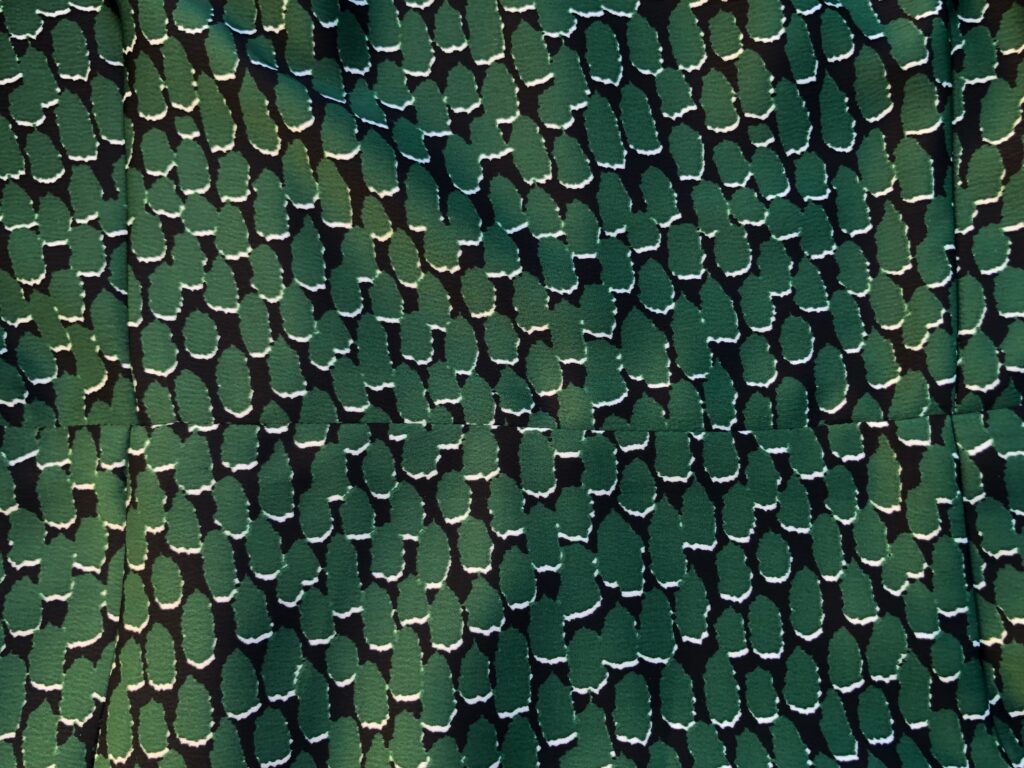
One of the tips is how to fit the perfect invisible zip, which is really useful.
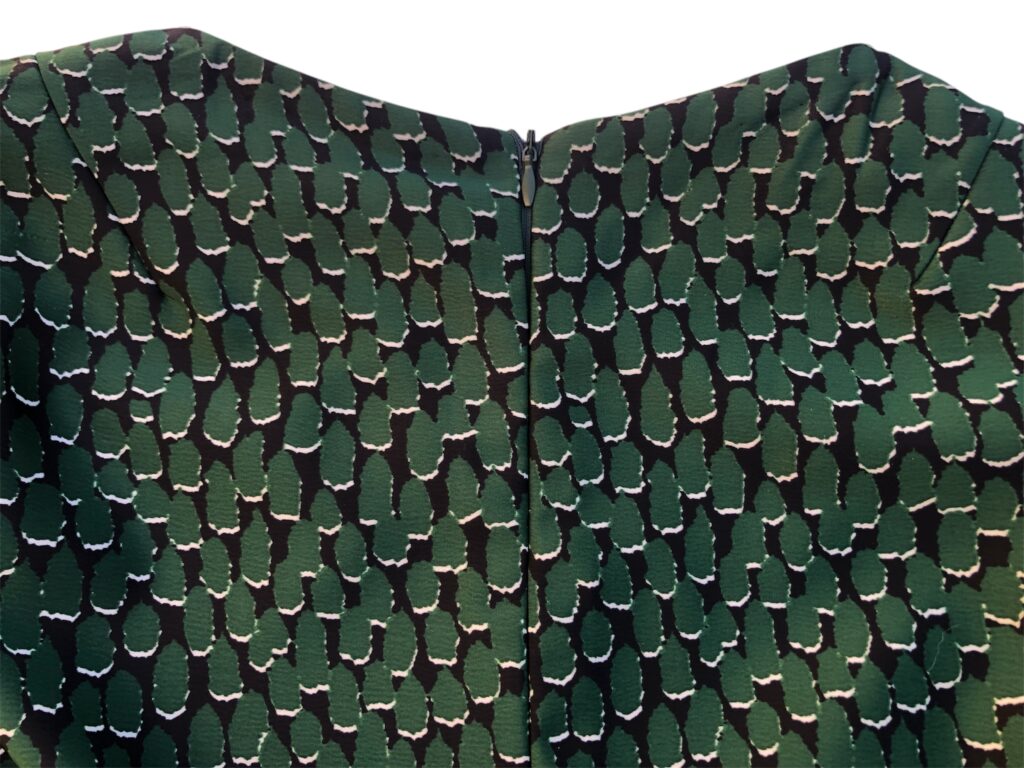
This is a dress where you can really play around with the proportions to suit your frame and height. On this occasion, I chose to cut the shorter length of the dress and add a longer skirt frill. Although the pattern instructs you to cut the frill in three pieces, it turns out that you only need two cuts of a full width of fabric. Just two side joins are possible with this.
Although the pattern does not require pockets, the dress provided enough ease for me to add them on this occasion.
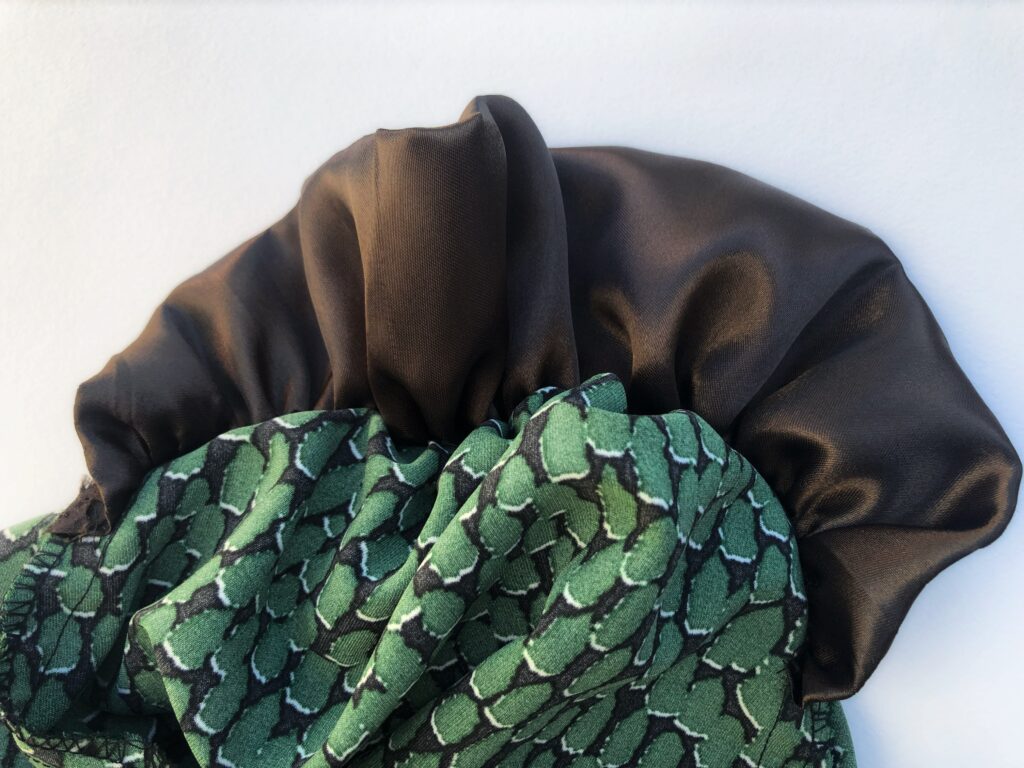
I also chose to double the frill on the sleeve rather than hem it with a single layer of fabric. I must admit that with my fabric, this added extra bulk, so I had to bind the join to finish the interior of the sleeve.
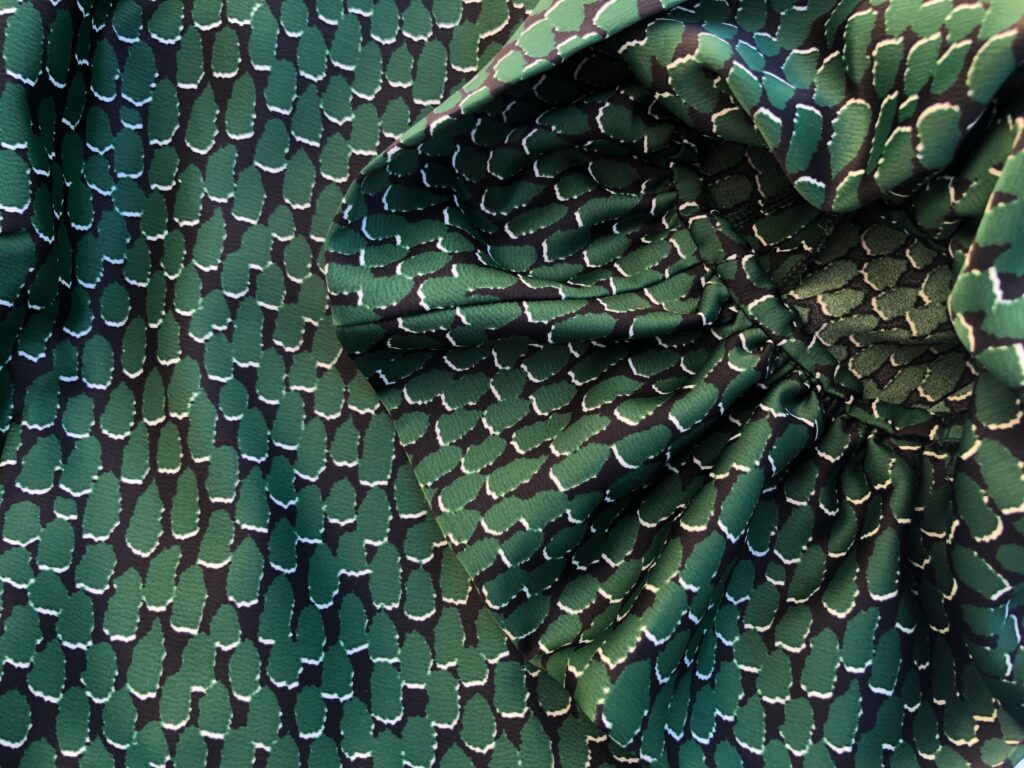
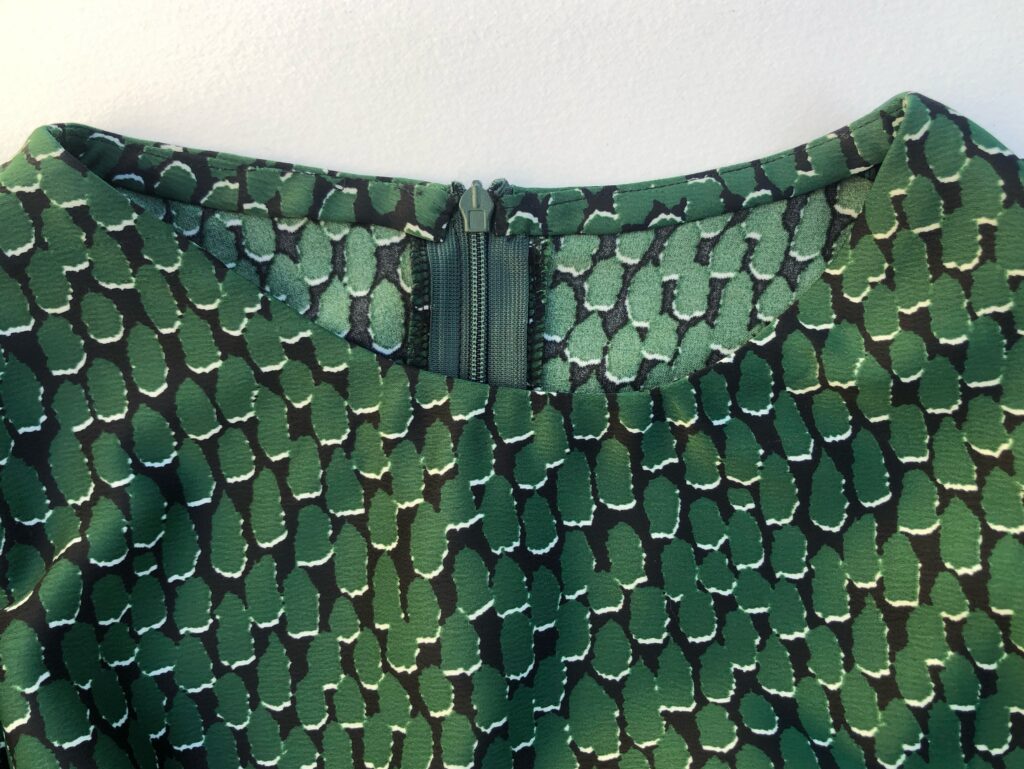
In the end, I disliked the neckline facing and decided to bind it. I think that this provides a superior finish and is less cumbersome and cumbersome to wear.
There is an option to make a puffed sleeve head / insert to support the gathered sleeve. If you do not want a statement sleeve, then you cold leave this detail out. I was not initially sure about the sleeve detail, but now I love it!
Alterations & Tips
1. The skirt was cut to the minimum length (View B). I’m considering cutting it even shorter above the knee.
2. To change the dress’s proportion and maintain its length, I cut the skirt frill 40 cm deep. I cut the frill in two pieces instead of three as suggested. I would have cut one continuous piece if possible. I don’t see the need to join so many widths.
3. Due to the fact that you can see the underside of the sleeve frill, I made the decision to cut it twice the depth and double it this time. The need for heming the sleeve is eliminated by this method. The fabric face looks much more appealing than the back of the fabric hemmed. However, my chosen fabric added bulk to the sleeve joint and made it impossible to serge. I plan on sewing the sleeve hem separately and serging the two frill seams together in the future.
4. I didn’t like the neck facing, so I opted to bind the neckline instead.
The Cost
Fabric 120 DH
Zip 2 DH
TOTAL: 122 DH (£10 / $12)
Conclusion
Who wouldn’t fall in love with this dress?
The fabric choice determines whether it can be worn day or night, but it is both feminine and flattering. It can be used to create a stunning sundress, tea dress, or glamorous evening dress.
This dress has the potential for various variations on this theme. So with a little imagination, this pattern is more versatile than it initially appears.
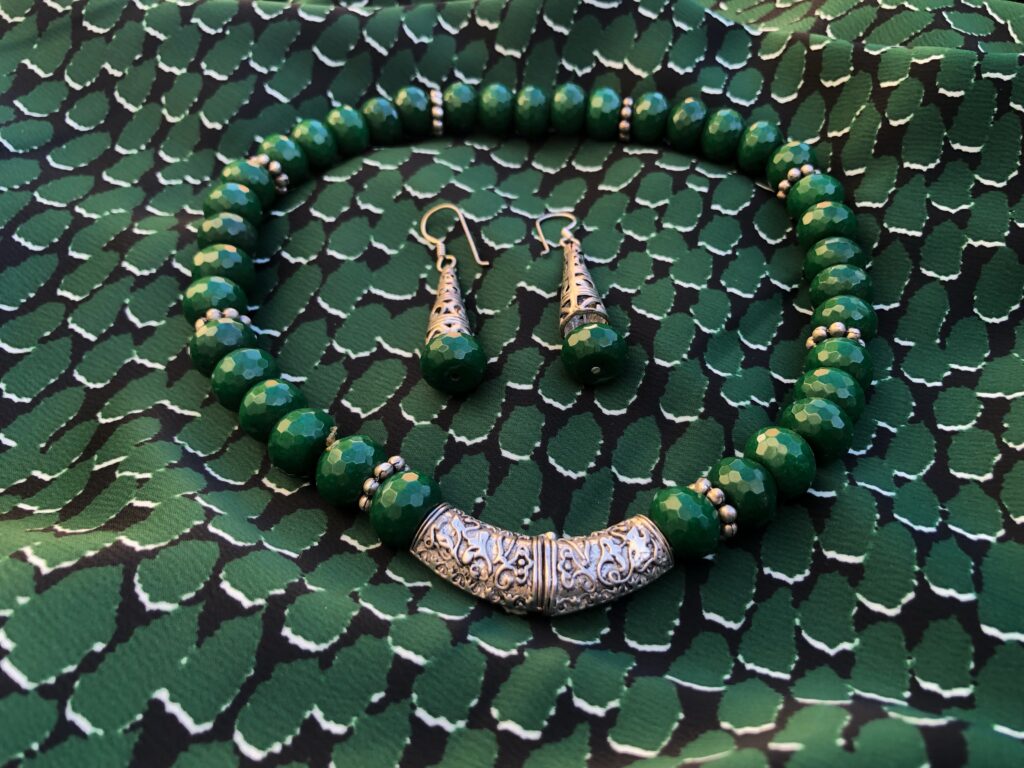
I discovered some wonderful beads in my local Marrakech souk (local market) and so made a necklace and earrings that compliments the dress. I now just need somewhere to go!





Leave a Reply