
My insider tips on making the Sienna Maker Jacket.
All the jackets and coats in my wardrobe seemed so formal: I was lacking a casual jacket / coat to wear with jeans t-shirts and sweaters.
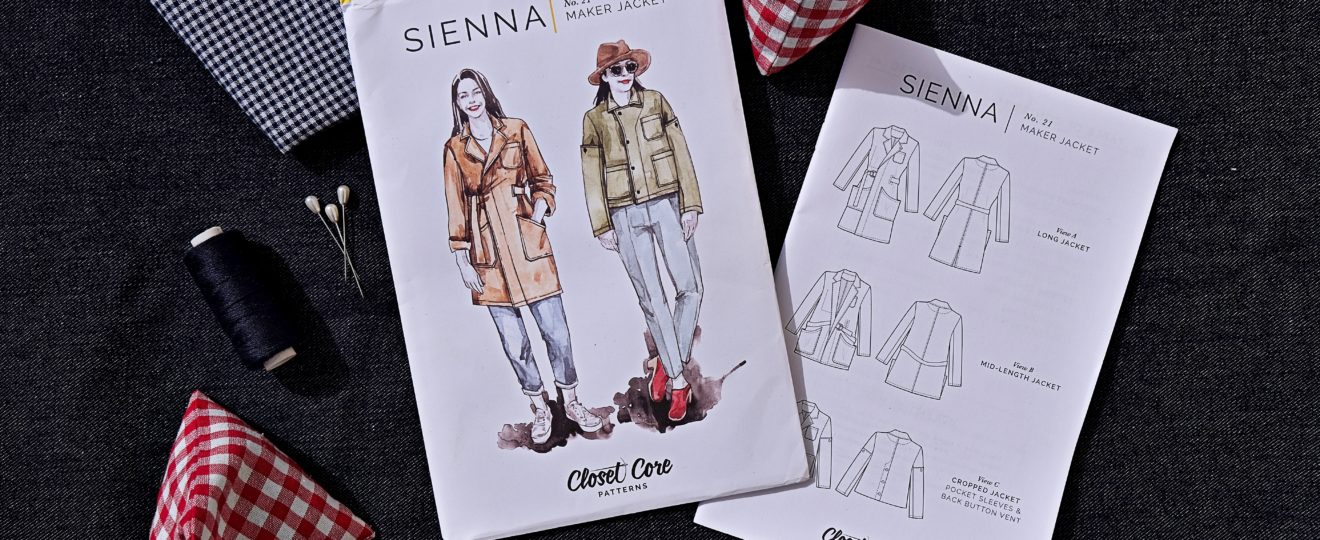
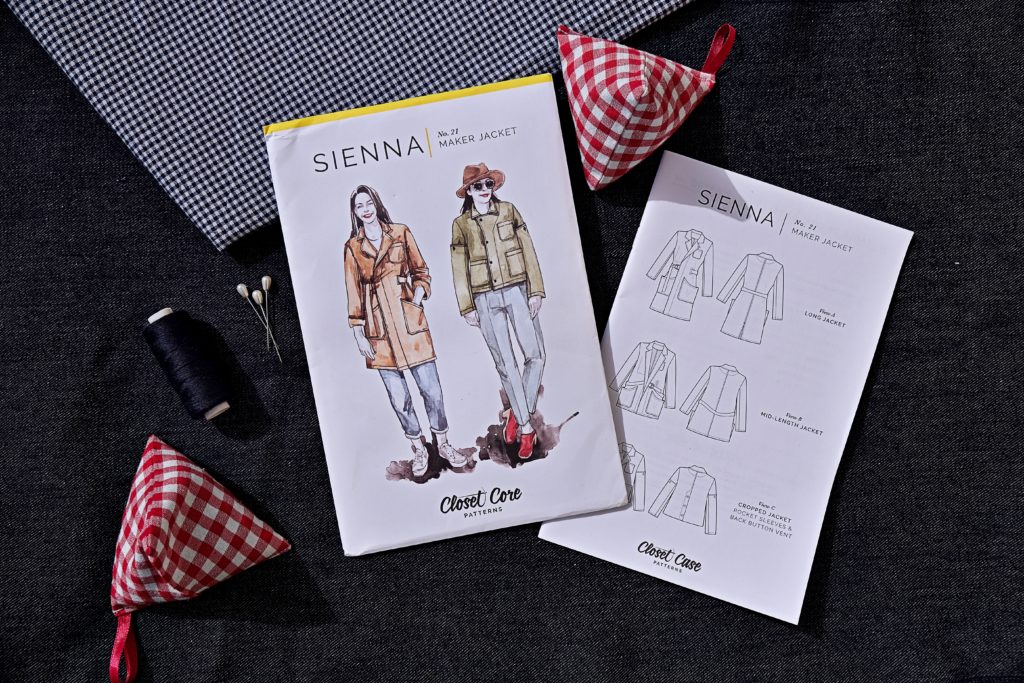
The Sienna Maker jacket by Closet Core seemed like the perfect solution. I had this pattern on my wish list for quite a while. When I was finally able to purchase and obtain the pattern I could not wait to begin sewing!
The Pattern
This pattern is described as a utility jacket, inspired by French workwear, to be worn by makers and artists inside the studio as well as out. I am not sure that I would agree with this idea. It seems too much to wear indoors and the belted jacket seems impractical!
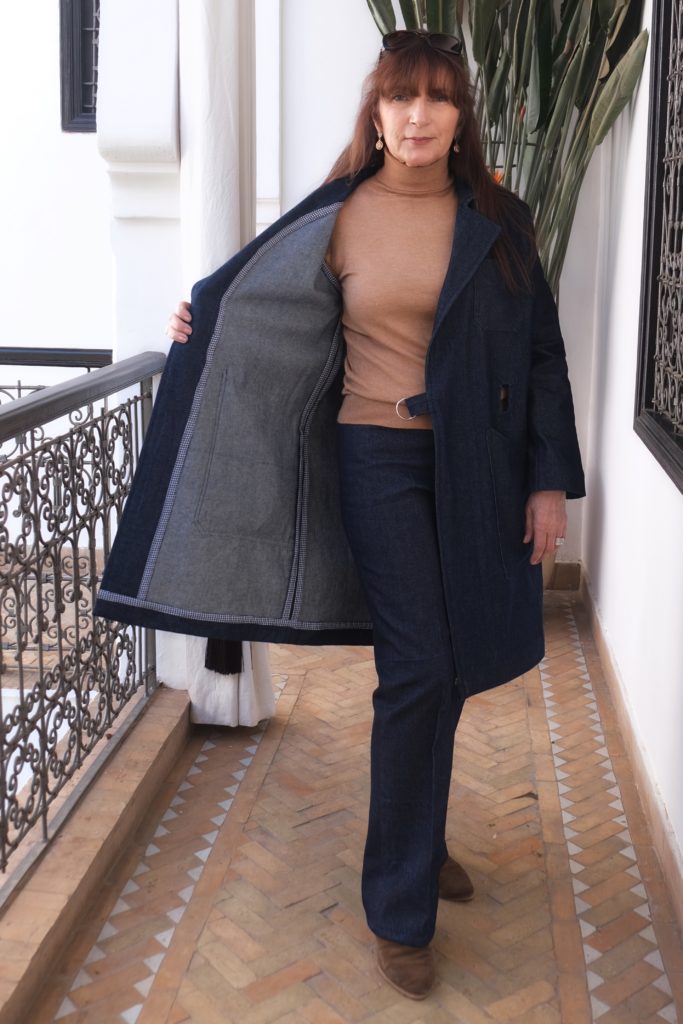
However, I do love both designs and feel that the pattern offers great versatility and opportunity to customise. The jackets are both unlined and so required the seams to be finished utilising the French or Hong Kong methods, since they are exposed.
There is plenty of styling on offer with both jacket designs. Incorporating large patch pockets, hidden pockets and a button placket detailing, this is certainly a statement jacket.
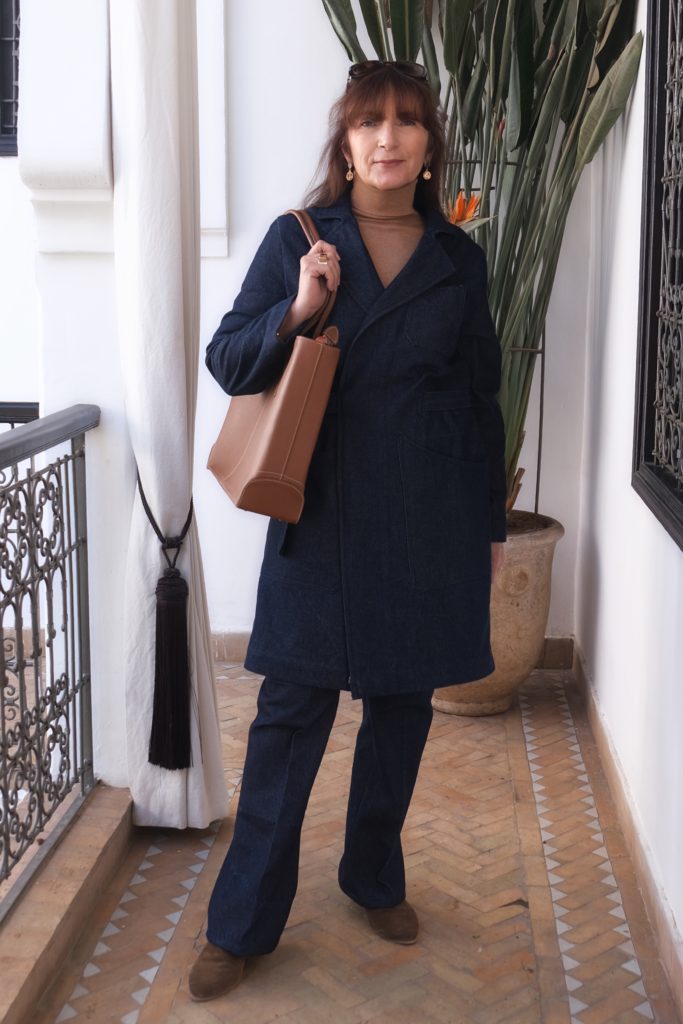
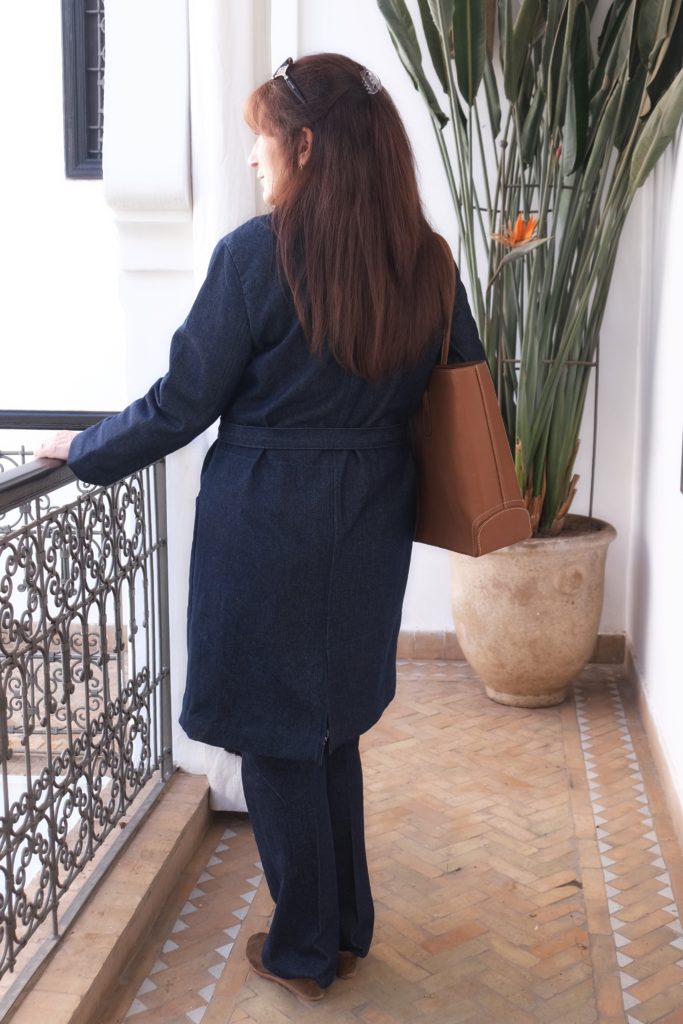
The belted jackets (View A & B) come in two lengths, and are flattering worn cinched in at the waist. View C is a short boxy jacket that is much more practical and easy to wear for every day.
The Fabric
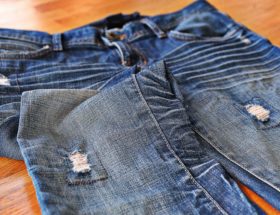
I chose to use denim, as it fitted the bill for a hard wearing and practical jacket. Something that I could wear through the seasons layered over t-shirts or even sweaters in the cooler months. I purchased the denim in my local market.
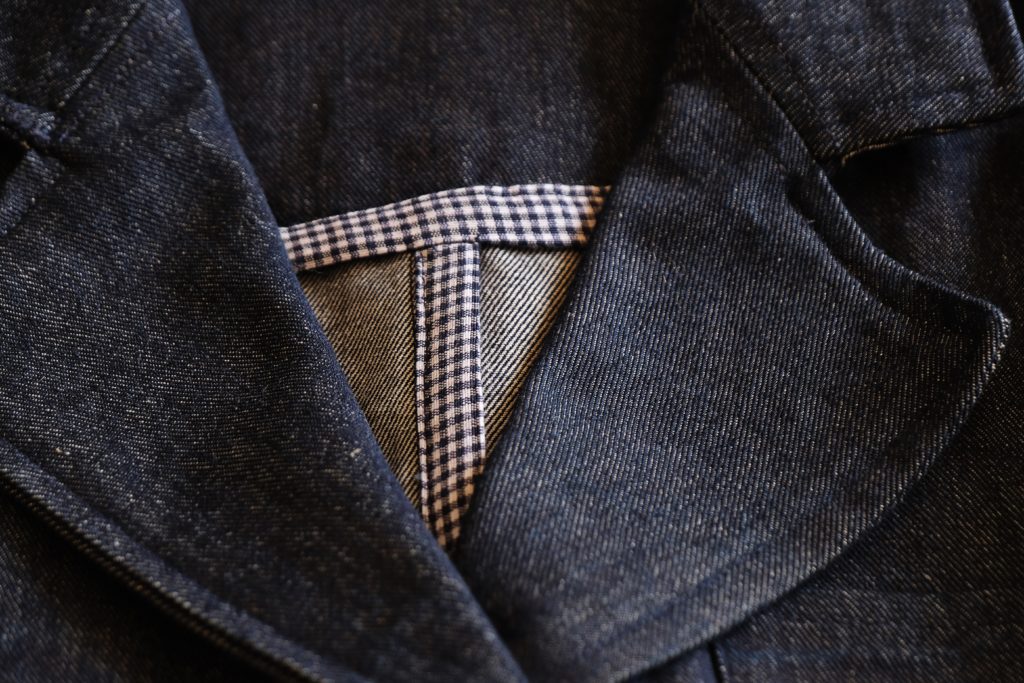
I finished the inside of the jacket using Hong Kong seams where possible. I had plenty of left-over scraps of cotton gingham in my stash, just perfect for the job!
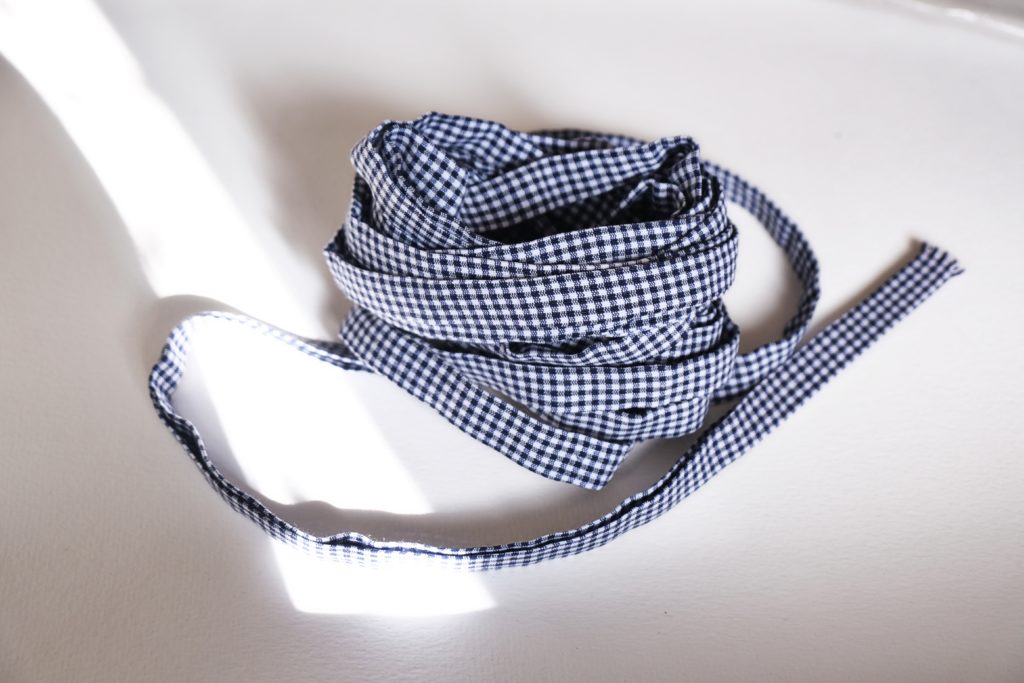
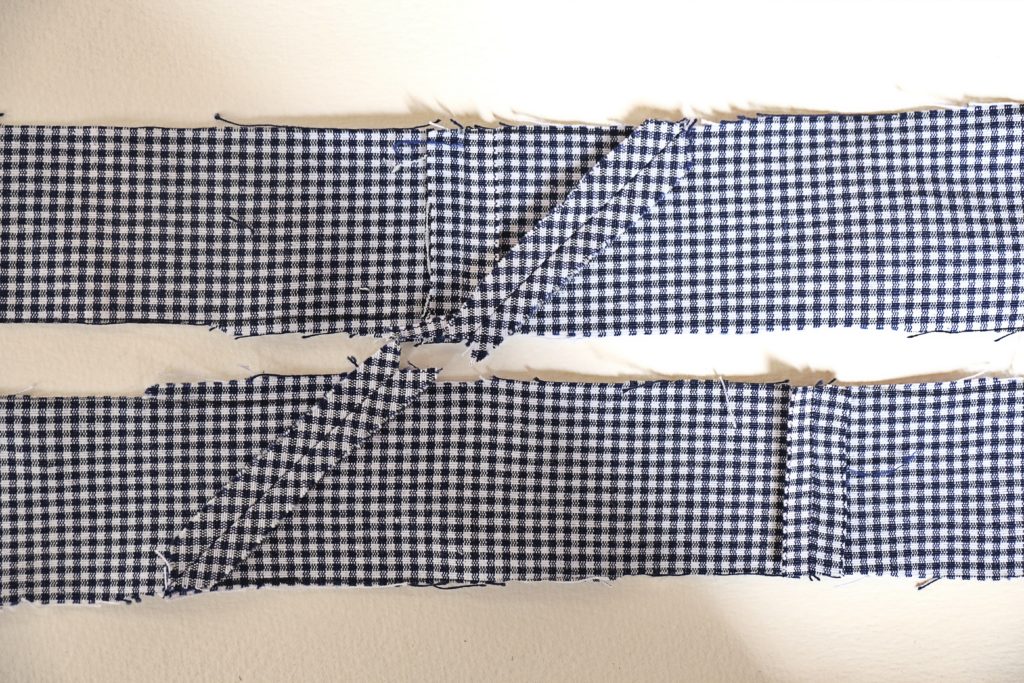
Preparing The Bias Binding
I had not made bias binding before and so looked up how to do this on Pinterest. I found the following link and made a sample:
https://www.designsbypetro.com/BiasBindingPdf1.pdf
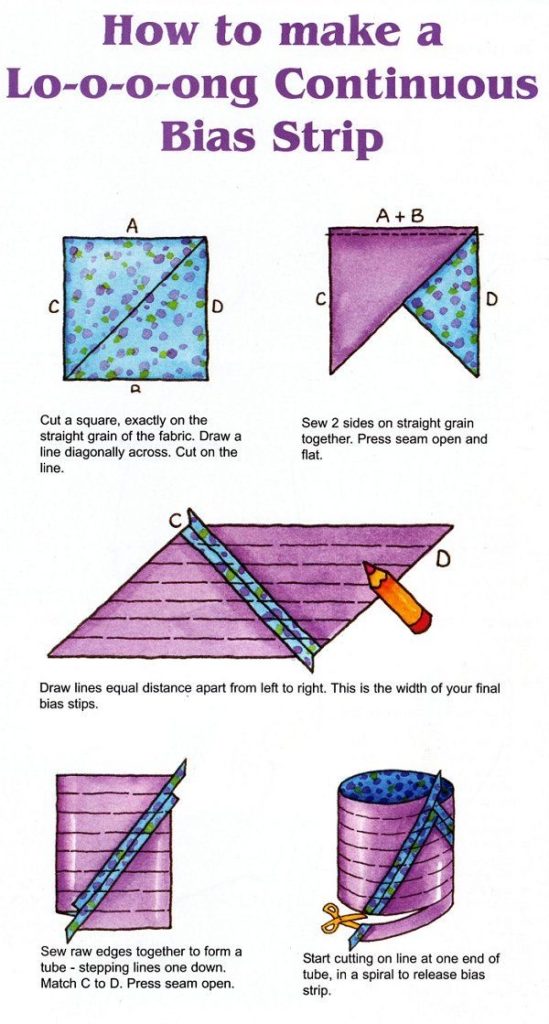
For me there seemed to be far too many joins situated close together and I found it to be messy. For this jacket the seams are mostly straight and I did not need to cut the tape on the bias. I therefore decided to simply make tape with as many long straight strips as possible. It worked perfectly and with fewer joins on the continuous tape, it looked so much better.
Making The Jacket

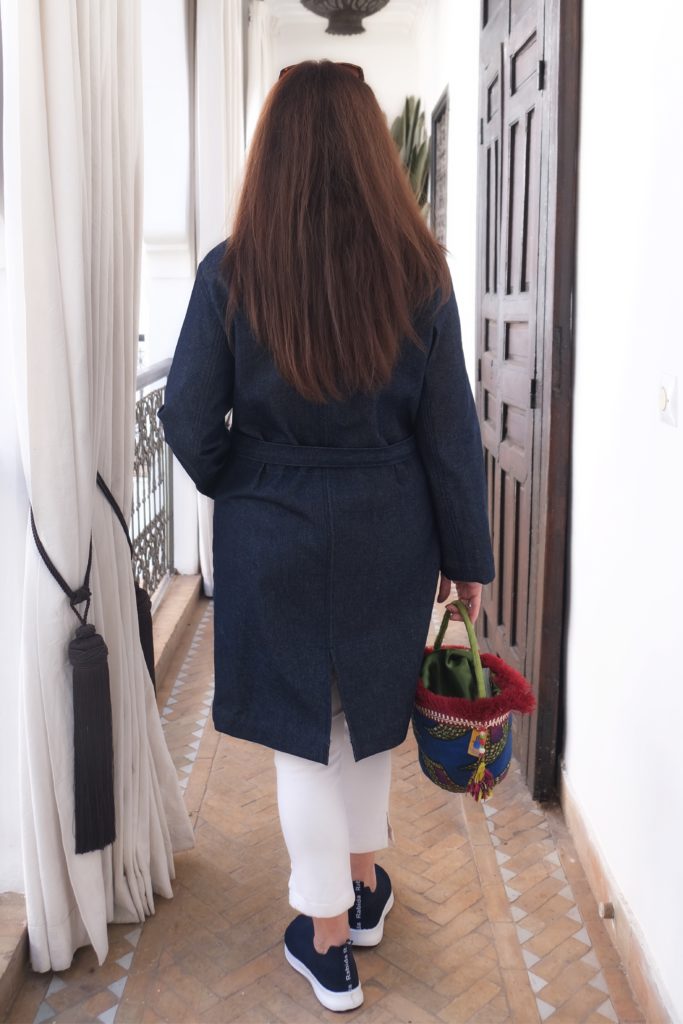
For this first project I am making view A: the long, belted jacket.
I immediately overlocked all raw edges of the pattern pieces to preserve a flat clean finish. I also believe that this prevents the fabric fraying when washed and causing the seams to bulk.

The next step was to attach the bias binding to all seams that were not to be finished with French seams. I found it easier to do this before stitching the sections together, having less fabric and bulk to manoeuvre.
For the remaining finishing, I used French seams as I continued to construct the jacket.

Once the pockets are attached, it calls for a slit to be made for the sash belt to pass through. I actually made this too wide, finding this section of the instructions difficult to follow. You only need to make a narrow opening for the belt, so be careful not to make my mistake.
The denim has enough body and is substantial enough without interfacing, and so I opted out of this stage.
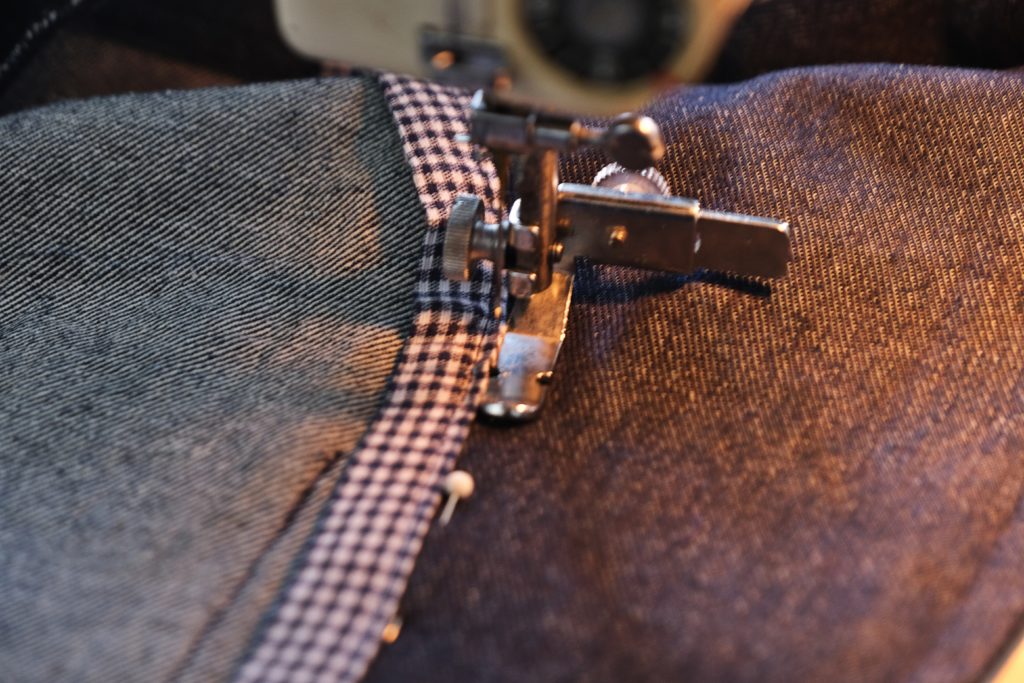
When the collar and facings are fitted, it calls for the two layers to be stitched together. Due to the bulk of the Hong Kong seams, I found it easier to sew this using a zipper foot.
Tips And Alterations
▪️I immediately overlocked all the raw edges of the pattern pieces to prevent the fabric from fraying. This also gave a neat edge to finish to with the bias binding. I believe that it will also help when washing the jacket.
▪️I finished as many exposed seams as possible with bias binding before making up the jacket. This made it much easier to handle and achieve a better finish.
▪️I finished all other edges with French seams.
▪️I omitted the hidden breast pocket, it seemed one pocket too far!
▪️I omitted using interfacing as the fabric was substantial enough
▪️Make sure that you do not make the opening for the belt too large, it is easy to do.
▪️Next time I would wait until I had completed the coat and fitted the belt before creating the actual opening for the belt to pass through. I found it too low on my waist. It is much better done when you can try it on to achieve a perfect fit.
▪️When top stitching the facing to the main body of the coat I used a zipper foot to closely follow the edge.


Conclusion
The long Sienna Maker jacket is a fairly straight forward jacket to make. The shape is simple and unstructured, there are no darts and it is unlined. Finally there are no button holes to fit, and so it is good project for someone with moderate sewing experience.
I have to admit that I love the finished jacket and have received many compliments when wearing it. It really is different to anything readily available and certainly worth the effort to make.
The jacket is great worn over T-shirts, and yet is loose and roomy enough to wear over sweaters. A great all-season jacket for layering.
I would also consider lining this jacket, if made in a wool or similar fabric. It would save having to finish the seams and would add to the warmth of the jacket if worn in cooler months.
I find that I struggle as to what to do with the belt when not tied. It can apparently be looped in the opposite direction. I tend to roll it and place it in a pocket. I do have a couple of ideas for alternative solutions to this issue, that I plan to experiment with in my next make, so watch this space!
All in all I am very pleased with this jacket and will certainly be making further versions.


Leave a Reply