
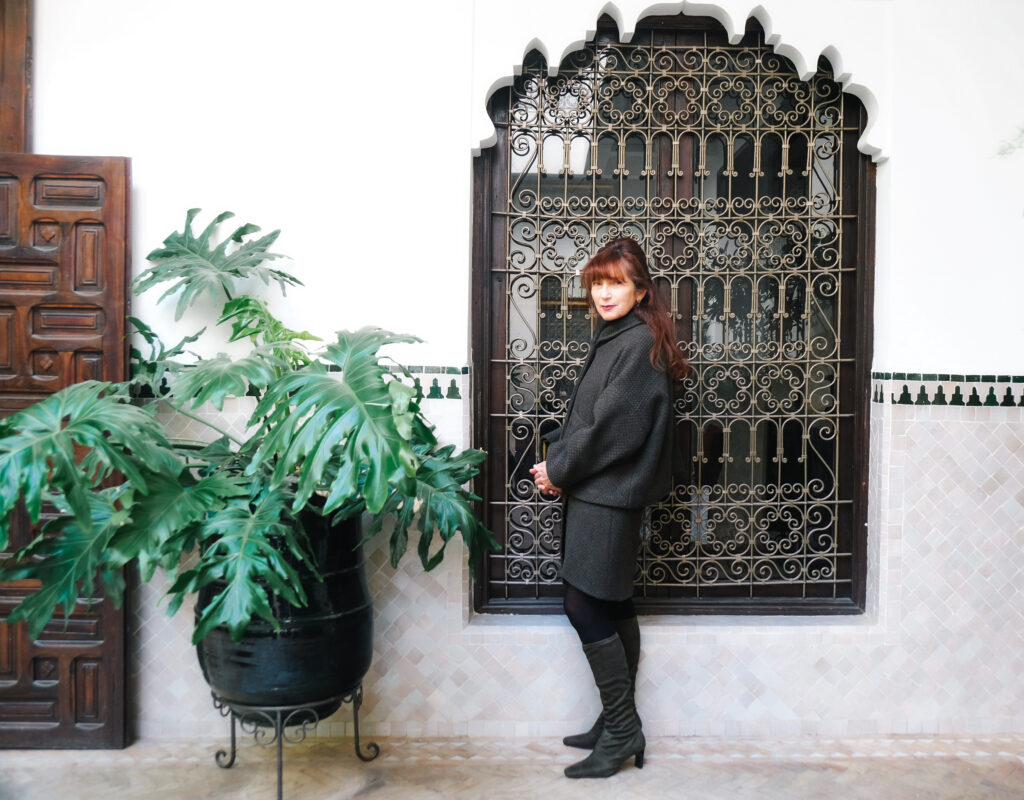
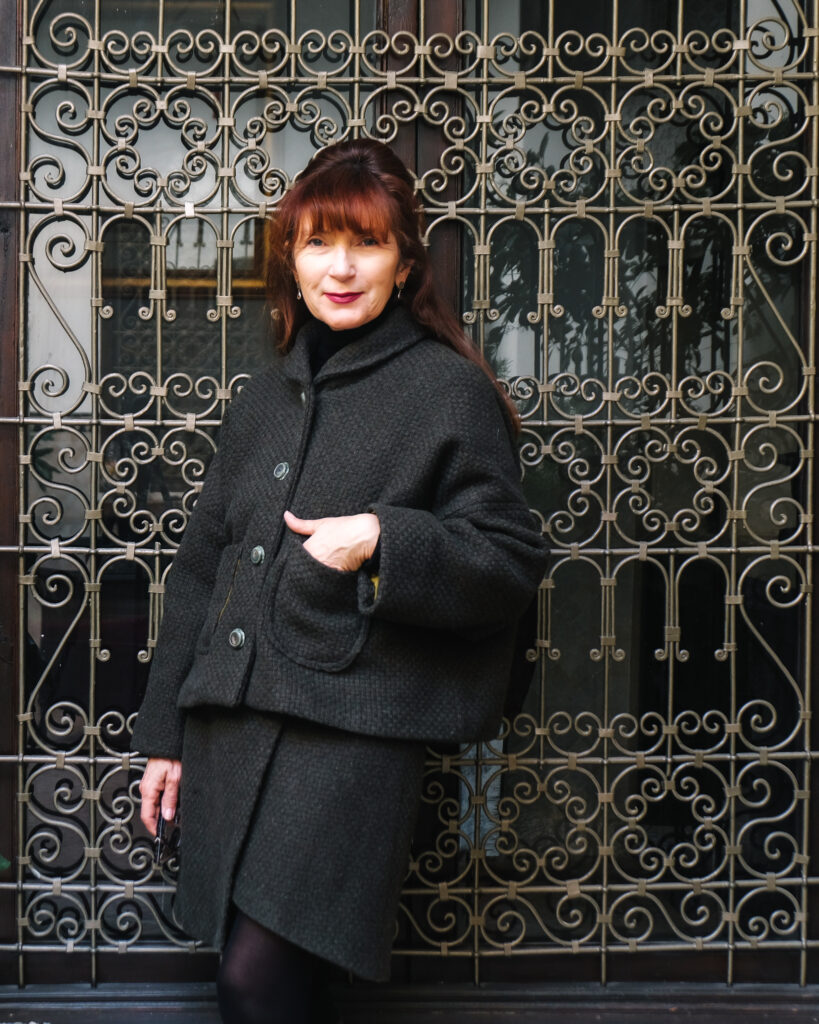
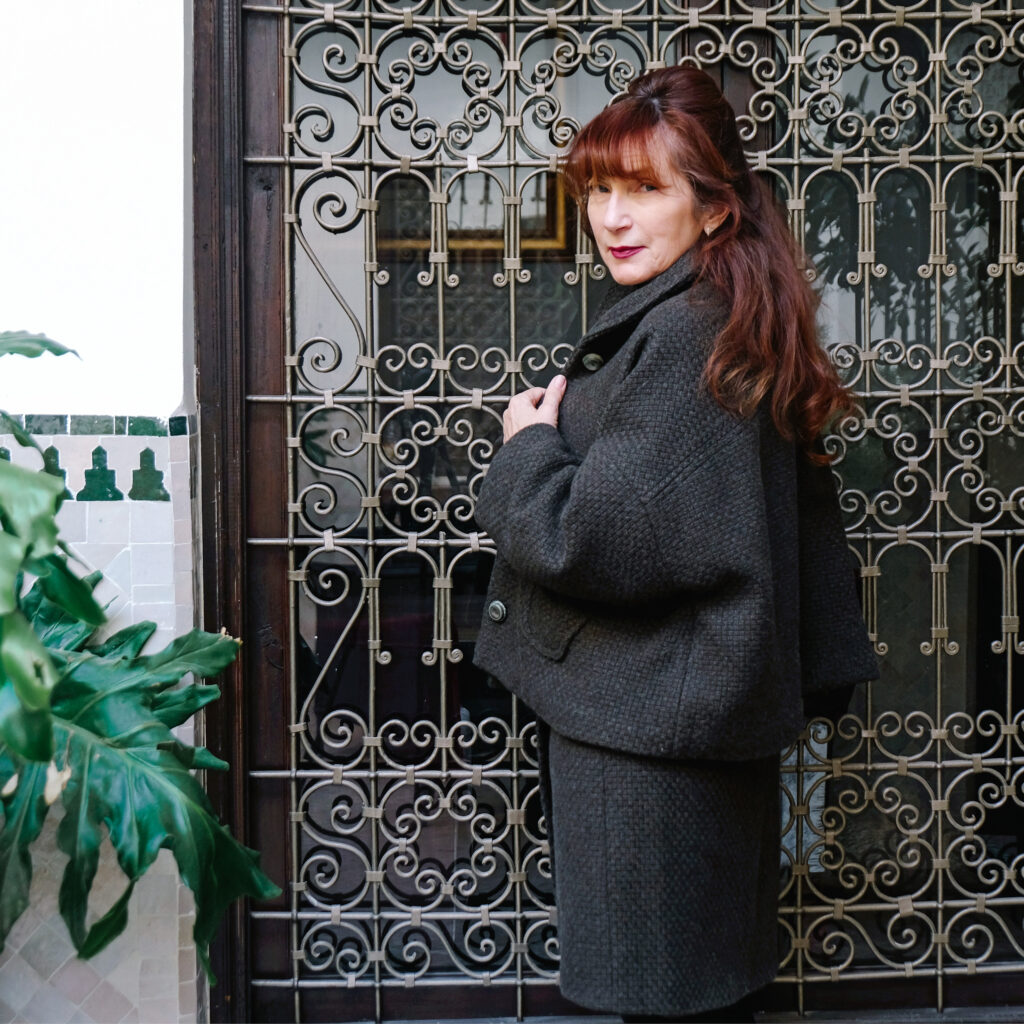
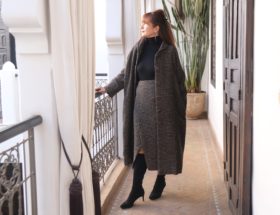
Now falling for the Sanda jacket by Merchant & Mills. Having already fallen in love with the Sanda coat by Merchant and Mills, I obviously had to next make the Sanda jacket! Just like the coat, the jacket is understated in style and is a timeless design. More importantly, it is easy to wear winter layers and sweaters underneath it. This is undoubtedly a perfect jacket made in wool for in between seasons.
The Pattern
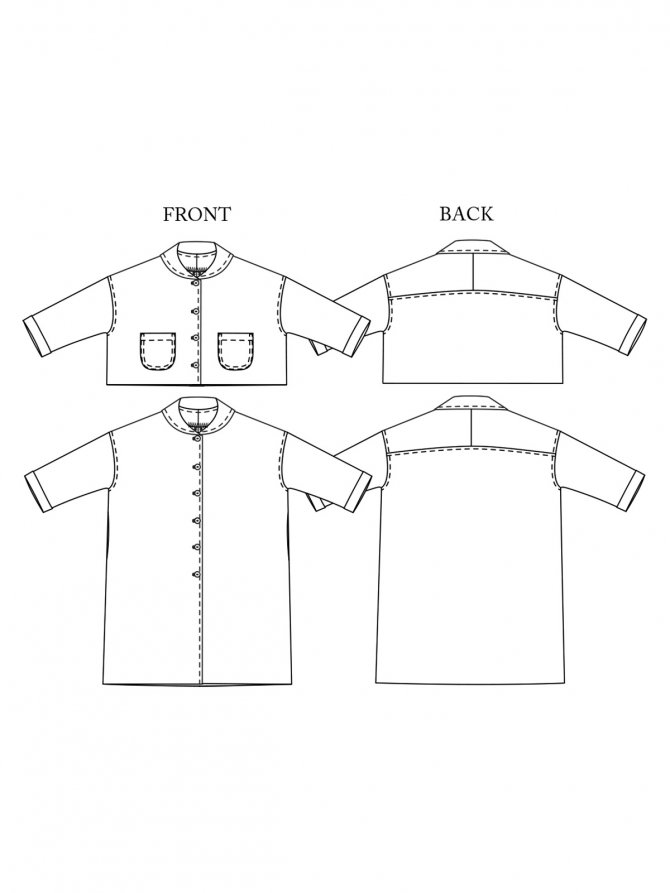
The Sanda pattern consists of an oversized coat or jacket that has a dropped shoulder. The sleeves have turned back cuffs, the round collar is set high. The coat has in-seam pockets and the jacket has patch pockets. You have the option to make them either lined or unlined.
The Fabric
Suggested fabrics:
oilskin, linen, 7-12 oz. Fabric options include denim, wool, corduroy, cotton twill, or canvas. A heavier weight cloth will result in a more structured coat.
Lining: Barrier lining if using an oilskin, otherwise cotton voile, lightweight linen, cotton poplin, lightweight wool and slip linings.

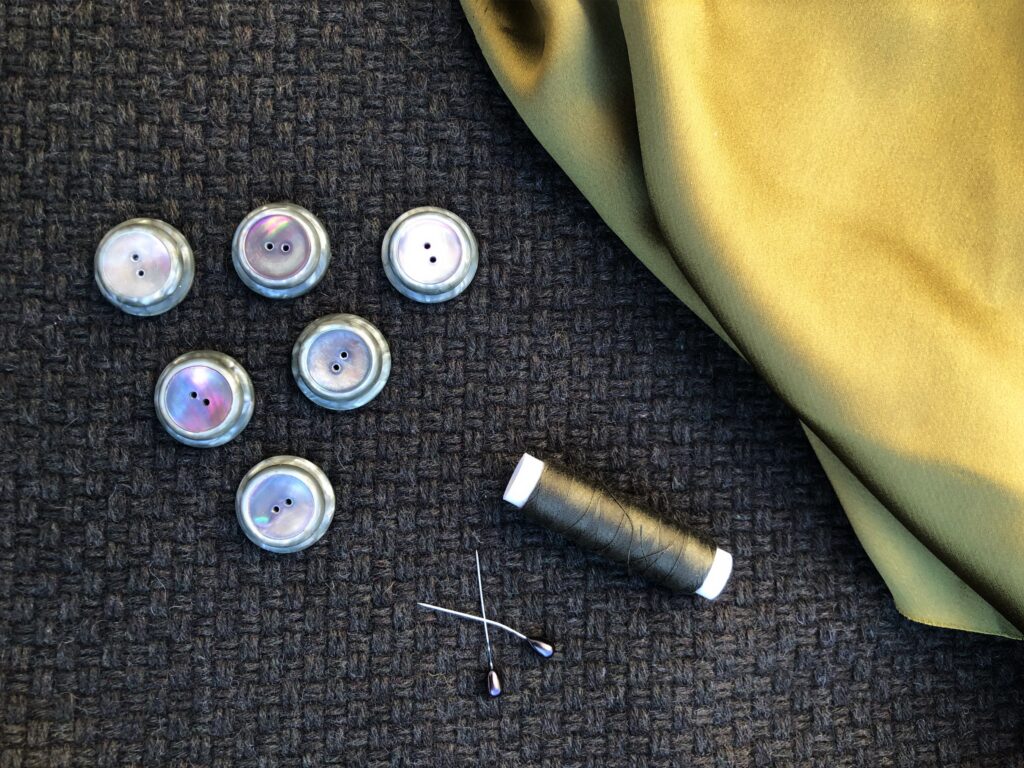
I purchased a tweed wool remnant of 2.50 metres, that I could not leave behind from a local fabric shop. I loved the classic olive colour and rich texture of the cloth.
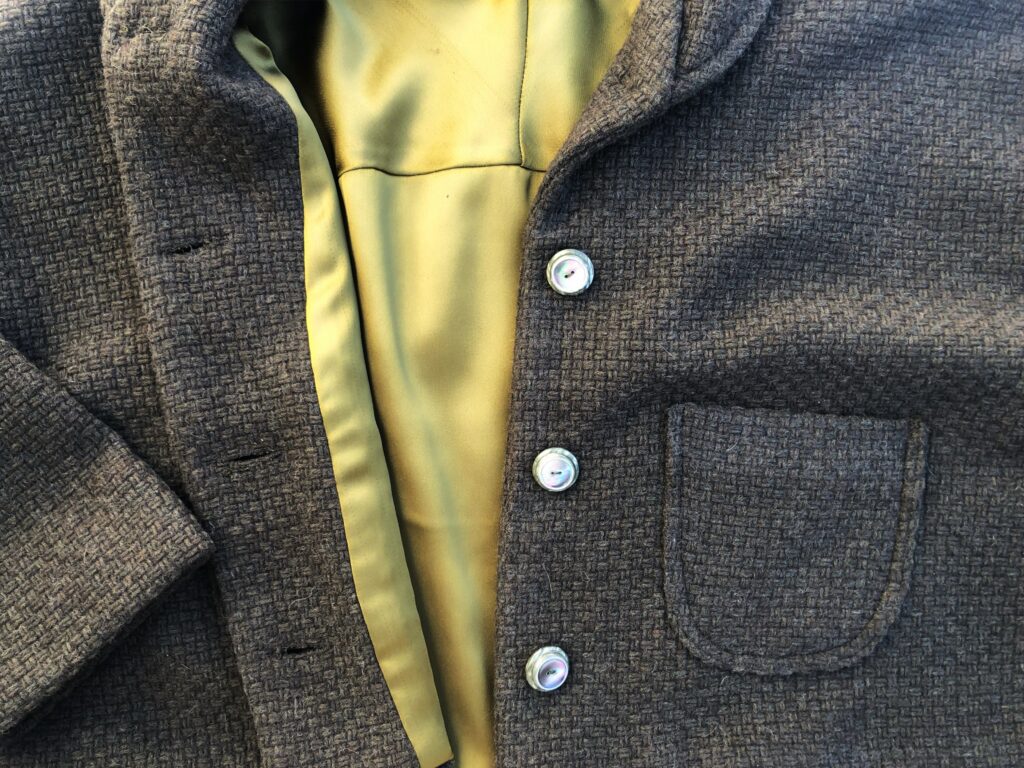
When cutting out the pattern pieces, I had to immediately overlock all the raw edges as the fabric unraveled easily. The fabric although wool is light weight and so the lining gave it some weight and made it much easier to wear, not clinging to clothes. It is also super cosy to wear. I always prefer to line a coat or jacket, especially for the winter months. I chose a heavy weight chartreuse satin as a contrast and to give a pop of colour.
The Make
The instructions are easy to understand and follow. However, I decided to construct the jacket in a slightly different order and construction method than was recommended in the instructions.
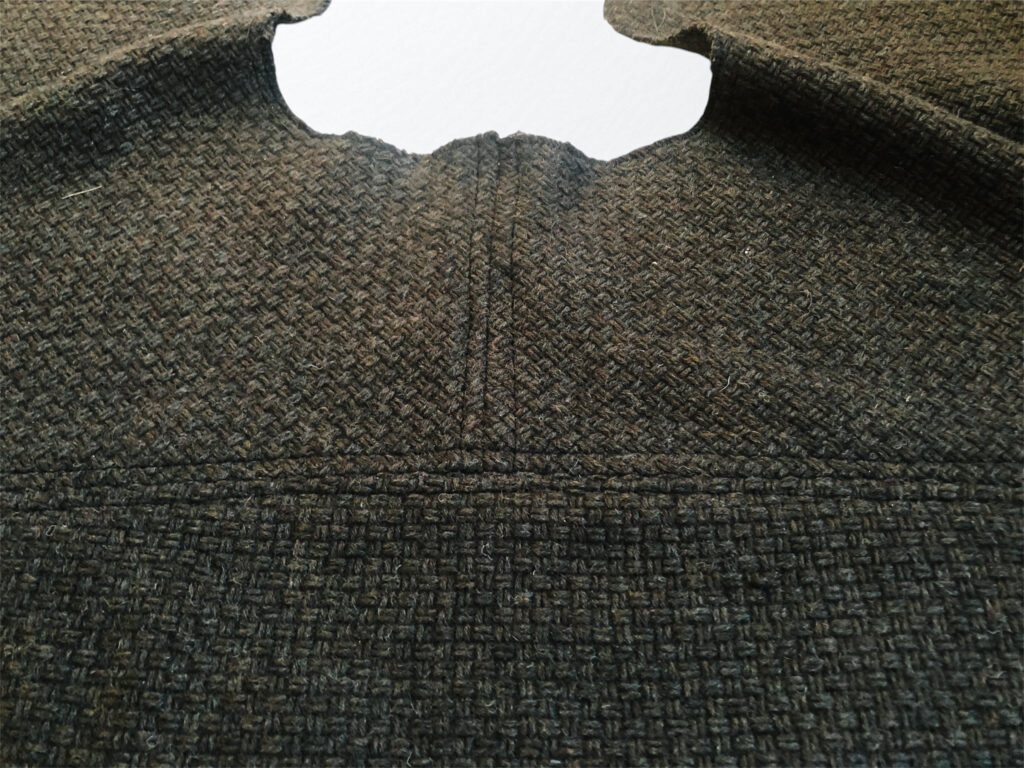
On completion of overlocking all the raw edges, I joined the front sections together to form the top of the back panel. I then immediately joined the lower back panel. On this occasion I top stitched the seams in place, which reduced bulk at the seams and gave added detail.
The instructions recommend that you sew up the sides of the coat first and then make the sleeves (and at the same time sleeve linings). The sleeves (and linings) are then inserted and attached. Sleeves are usually too long for me, so I chose not to do this. My preference is to try on the jacket first before hemming the sleeves. Due to the bulkiness of my fabric, I also decided not to have a turnback cuff.
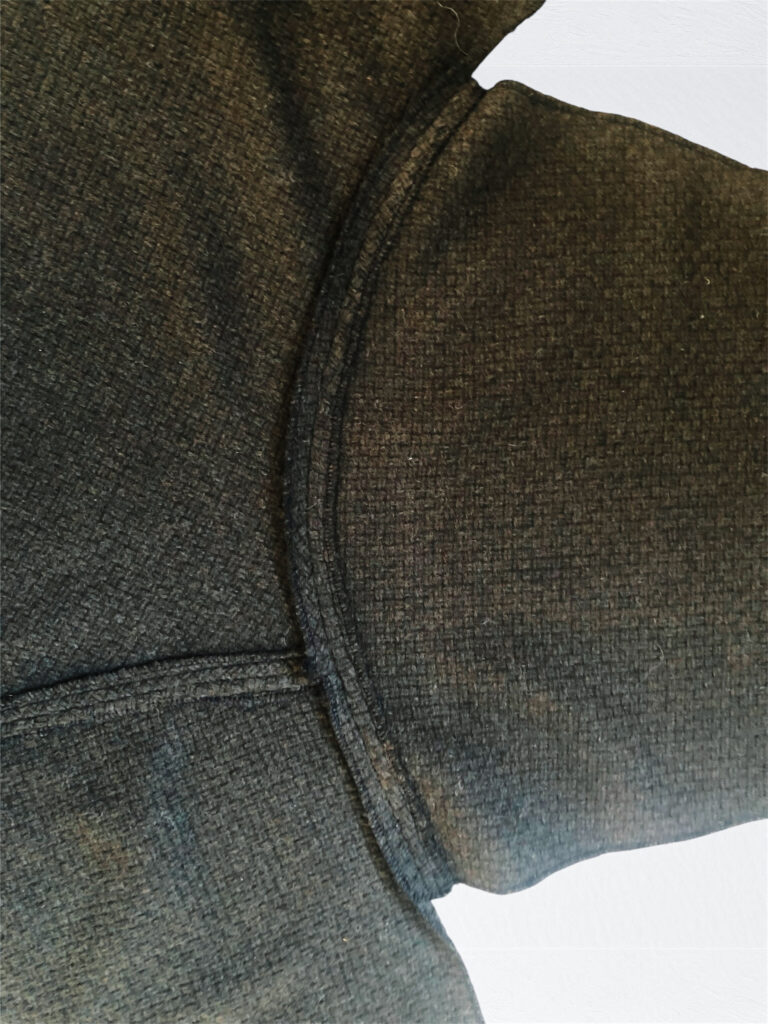
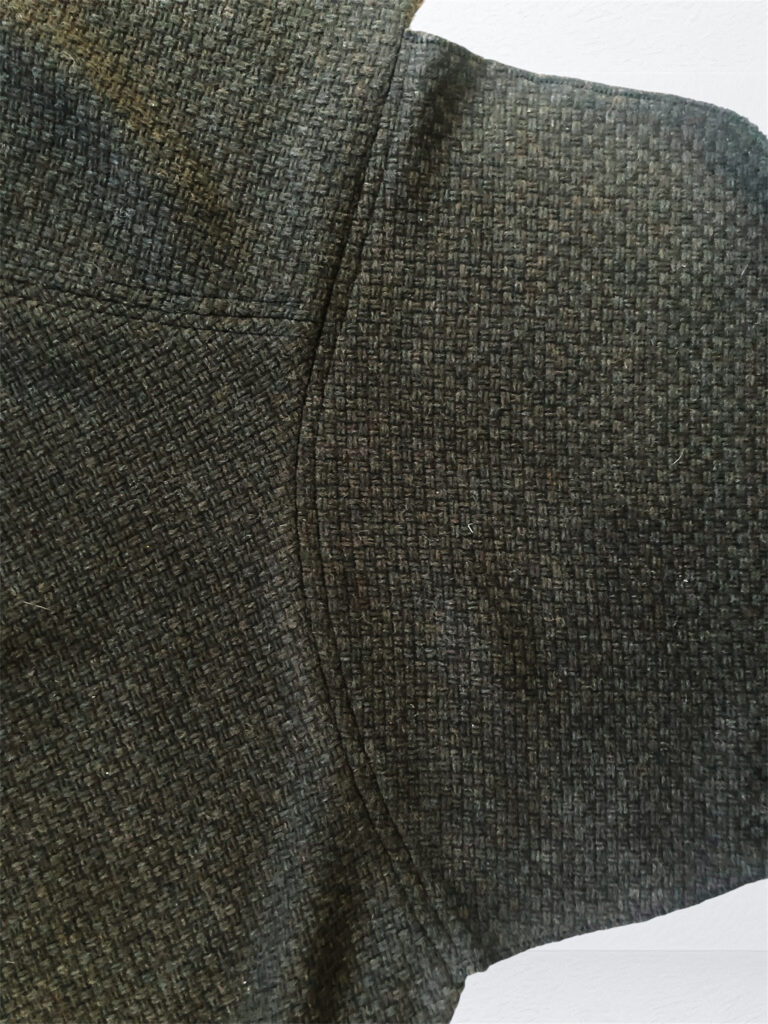
I chose instead not to construct the sleeves, but to attach the flat sleeve sections, as they have a straight heading, rather than insert them. I pinned the front and back sections together, and then stitched the sleeves, side seams together in a single seam. I then top stitched the seams in place to echo the back seams. This also strengthened the shoulder seams and reduced bulk.
Interfacing the collar and front facings is optional. However, I found that my fabric moved too much and needed stabilising. I opted to do this prior to hemming the sleeves. The effort was definitely worth it.
I proceeded to construct the collar and front facings, and then attached them. After that, I finally hemmed the sleeve and jacket hems.
The next step was to construct the lining sections, and simply bag lined the jacket. I found this construction method to be much simpler and yielded the same result.
Finally I discovered some wonderful vintage buttons in my local market and could not make my mind up which to choose.
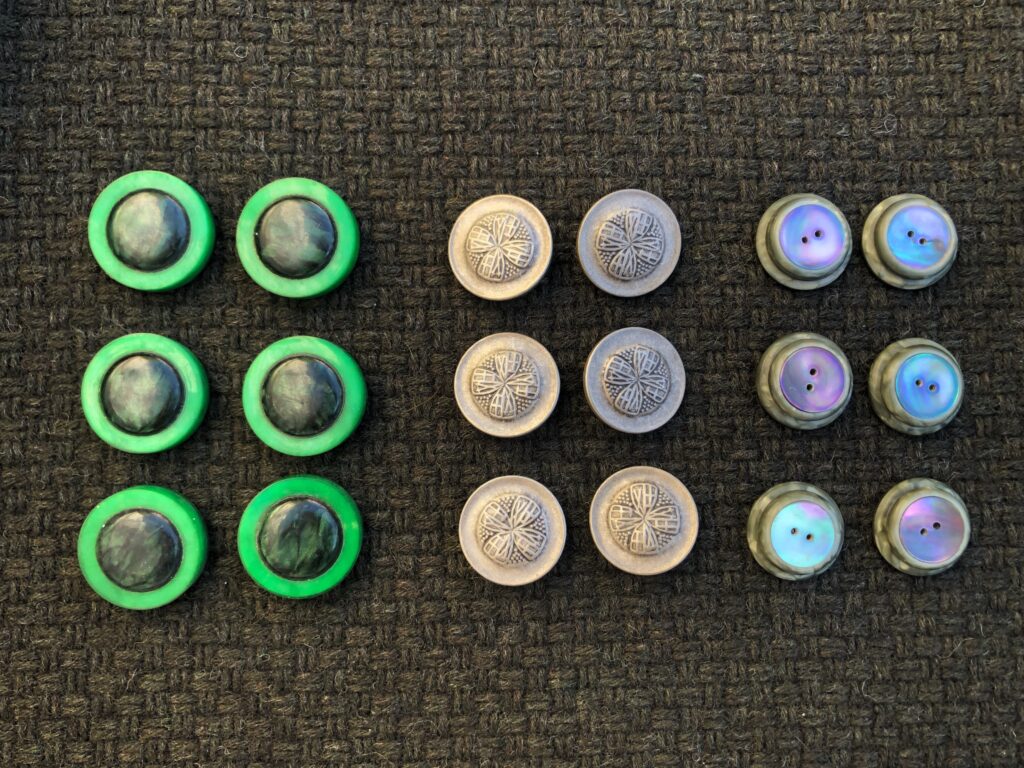
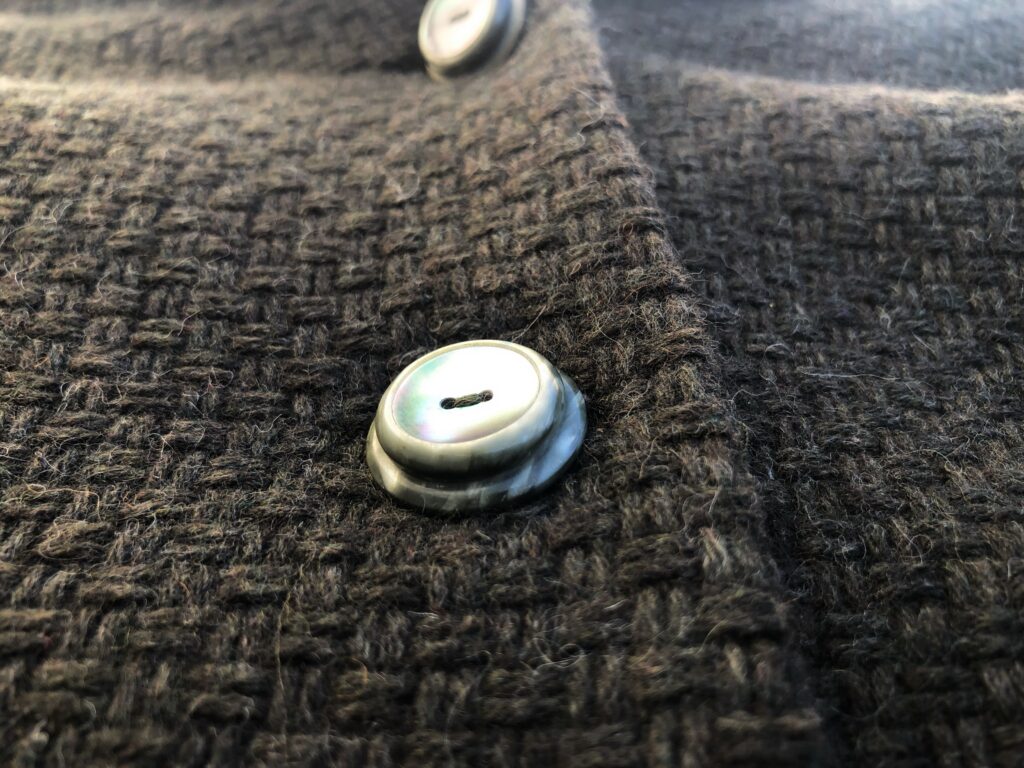
In the end I opted for the mother of pearl which complimented my fabric and jacket perfectly.
Tips & Alterations
1. The pattern calls for 2.10 metres of fabric that is 150 cm wide, and 1.10 metres of lining fabric. I found that I needed less fabric than advised.
2. I made the jacket to the recommended length. I am only 5’1” and would definitely consider lengthening it next time.
3. I always find it difficult to fit collars, so I cut them a size larger. This worked well, and the collar fitted perfectly.

4. Due to the bulkiness of my fabric, I decided not to turn back the cuffs but rather shorten the sleeves.
5. I hand sewed interfacing to the base of the sleeves, the collar and front facings to stabilise the fabric, rather than give it body.
6. I attached the sleeves to the jacket, before joining the side seams, rather than inserting them after construction.
7. I bag lined the coat and then hand stitched the hems into place.
8. Due to the fabric being so textured, I decided to top stitch the seams in place along the back and shoulder joints. You could sew a double top stitch with fabrics such as cotton twill, canvas or denim.
9.This is a jacket with plenty of ease, so if you are petite, you may wish to consider going down a size.
The cost of Making the jacket
Fabric: 70 DH
Lining: 30 DH
Interfacing : 10 DH
Buttons: 6 DH
Cotton 2 DH
Total 118 DH or £9.45 / $12

Conclusion
This was a simple jacket to construct, and it came together relatively quickly. I preferred to fully line this jacket, but would consider making an unlined mid-season or summer version with Hong Kong seams in a lighter weight fabric such as corduroy, linen or denim.
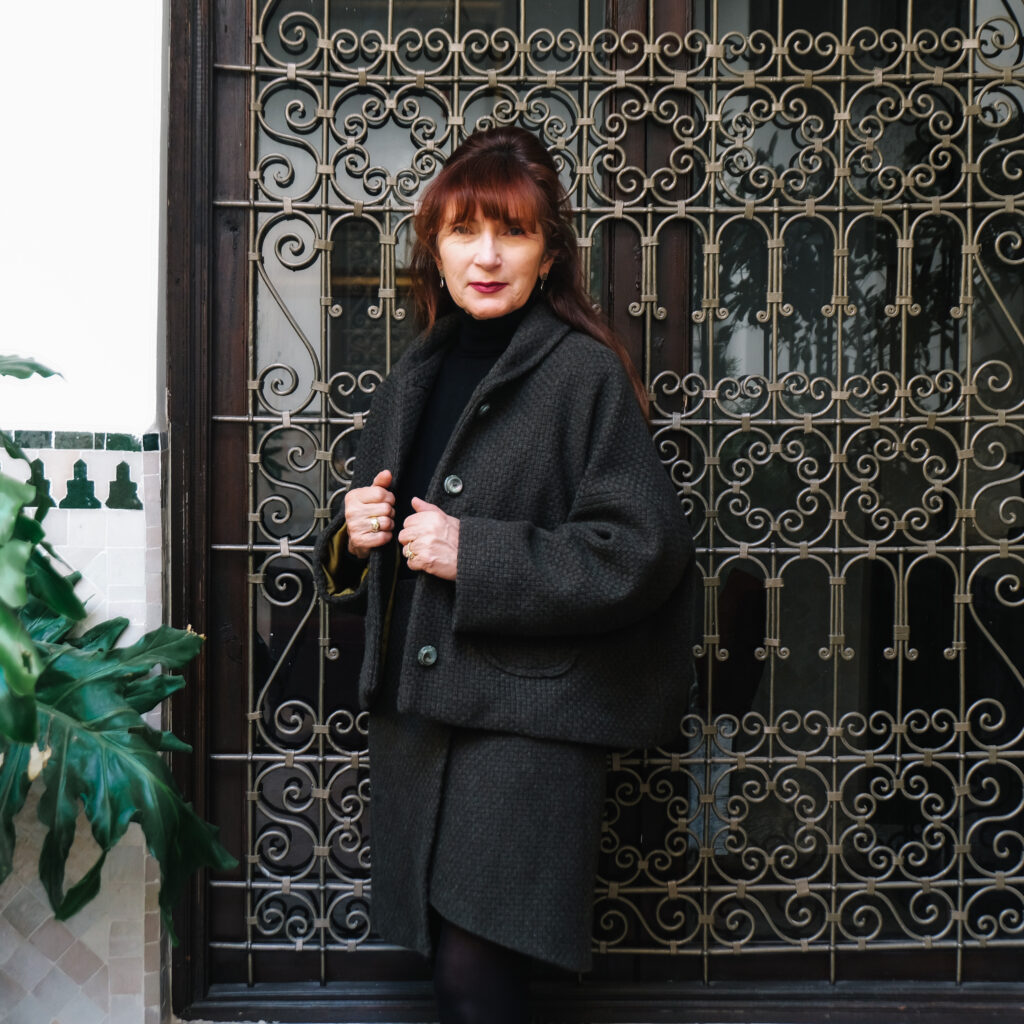
The jacket is comfortable and loose to wear, allowing plenty of room for sweaters and warm winter layers.
I am now planning to make a further jacket for the spring, next time I will possibly go down a size and lengthen it slightly.
This pattern is great for beginners as it is easy to construct, especially if you leave it unlined.
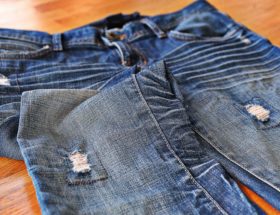
The fabric quantities are fairly generous, and so I was able to make a skirt to wear with the jacket from the left over fabric.
This jacket is versatile, and is great worn casually with jeans, or more formally over a dress or as a suit with matching skirt or trousers, depending on your fabric choice.


Leave a Reply